Rope Climber Bot
Climb !! |
CLimb Bot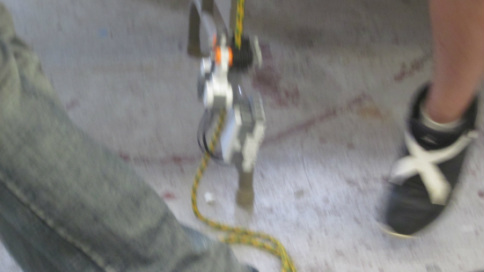
|
Design Process
1) Identify the problem- The objective was to create a robot that would be able climb a rope and slide back down. It had to be all done by the robot without any human help.
2) Research the problem- The research that we came up with was that we needed to pinch the rope so it wouldn't fall out, yet be able to push it away (making the robot move up). We also came up with that in order to pinch them we either needed to use wheels or gears to pin them. That was the only way to push them down with something that can rotate off the motor yet pinch the rope together. Last, thing we researched was that we needed a light robot so it can easily go up the rope. More weight means the more power we needed which wasn't that available with only two motors.
3) Develop Solutions- The solutions were easy to come up with. All we did was create robots that followed our research. Our solution was to put two or three motors next to each other where the wheels would create a tight space for the rope to go through. From their we connect the motors to the robot using as little amount of pieces as we can yet making it stable. All the solutions just varied on how the motors were setup. They could of either been 2 motors back to back, three motors pinned to each other, two motors with another set of wheels coming from behind, or two motors side to side (we decided that the motors would either have wheels or gears).
4) Select the Best Solution- The best solution we came up with was the two motors with another set of wheels coming from behind. This means having two wheels on motors pin with wheels that are straightly connected from the robot.
5) Construct A prototype- When we built our prototype all we did was follow what we predicted would be the best solution. There is nothing that can describe our prototypes best except with the pictures seen above.
6) Test and Evaluate- We tested the robot and found some positives and negatives with our robot. The good part was that our robot was capable to climb the robot (meaning it had enough torque and power) but it couldn't hold the rope in place. We evaluated that we needed to pinch the wheels closer without messing up the power.
7) Communicate Solutions- All we basically did was make the wheels much closer (taking the distance away from the motors and the set of wheels connected on the robot). This didn't mess up the power because the motors didn't change, we just changed the wheels on the robot not on the motor.
8) Redesign- All we did was build a new prototype until it worked. The only way we could best understand this is through the pictures. Some stuff may seem confusing through words, but through pictures it's easy to understand. In the end we did become successful.
